Enhancing Network Security with Pi-hole - Installation and configuration guide

In this post, we'll explore Pi-hole, a powerful network-level ad blocker that improves your browsing experience by blocking advertisements and tracking domains.
We'll cover its capabilities, why it's essential, and provide a step-by-step guide to setting it up in Portainer.
Finally, we'll explain how to configure your router or devices to use Pi-hole as your DNS server.
Why Pi-hole?
Pi-hole acts as a DNS sinkhole, blocking unwanted content and advertisements at the network level.
This means that any device connected to your network benefits from ad-blocking without the need for individual ad-blocking software on each device.
Key Benefits of Pi-hole:
- Ad Blocking: Blocks ads on all devices connected to your network.
- Enhanced Privacy: Prevents tracking by ad networks.
- Network Performance: Reduces bandwidth usage by blocking ads.
- Device Agnostic: Works with any device on your network, including smartphones, tablets, and smart TVs.
Setting Up Pi-hole in Portainer
Follow these steps to install and configure Pi-hole in Portainer:
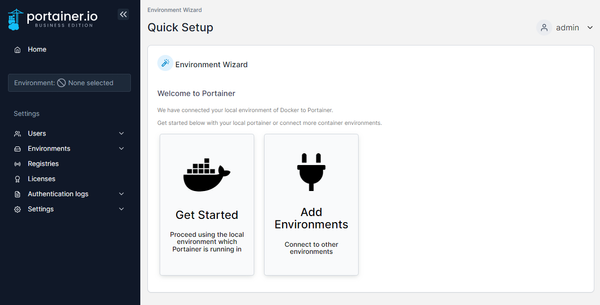
- Log into Portainer:
Open your web browser and navigate to your Portainer instance. - Create a New Stack:
In the Portainer dashboard, go to Stacks and click on Add stack.

- Configure the Stack:
Name your stack (e.g., pihole) and add the following stack configuration:
version: '3'
services:
  pihole:
    container_name: pihole
    image: pihole/pihole:latest
    environment:
      TZ: 'Africa/Johannesburg'
      WEBPASSWORD: 'changethisplease'  # Change this to a secure password
    volumes:
      - pihole_data:/etc/pihole
      - dnsmasq_data:/etc/dnsmasq.d
    ports:
      - "53:53/tcp"
      - "53:53/udp"
      - "83:80"
    restart: unless-stopped
volumes:
  pihole_data:
  dnsmasq_data: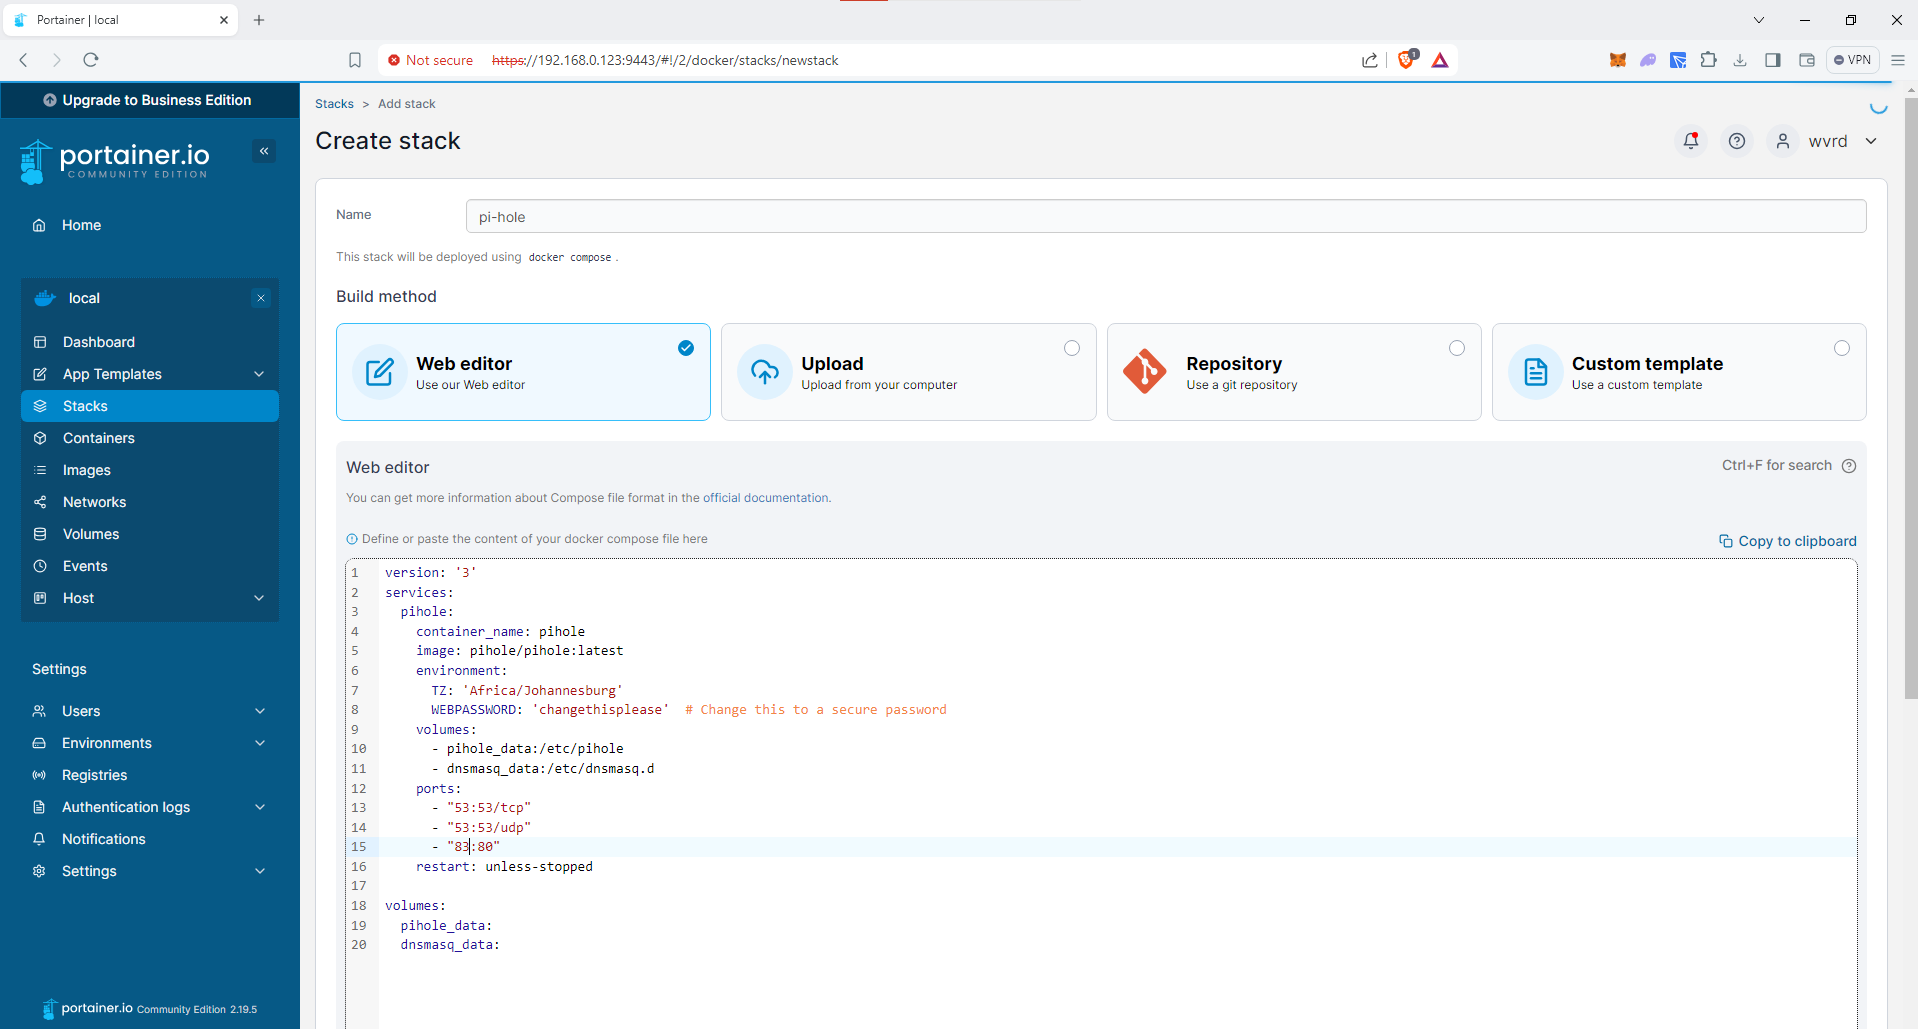
- Deploy the Stack:
Click Deploy the stack to start the Pi-hole service within Portainer.
In Ubuntu, the stub resolver should be disabled with:
sudo sed -r -i.orig 's/#?DNSStubListener=yes/DNSStubListener=no/g' /etc/systemd/resolved.confThis will not change the nameserver settings, which points to the stub resolver thus preventing DNS resolution.
Change the /etc/resolv.conf symlink to point to /run/systemd/resolve/resolv.conf, which is automatically updated to follow the system's netplan:
sudo sh -c 'rm /etc/resolv.conf && ln -s /run/systemd/resolve/resolv.conf /etc/resolv.conf' After making these changes, you should restart systemd-resolved using:
systemctl restart systemd-resolved- Verify Installation:
Check if the Pi-hole container is running by navigating to the Containers section in Portainer.
Configuring Pi-hole
Once Pi-hole is up and running, follow these steps to configure it:
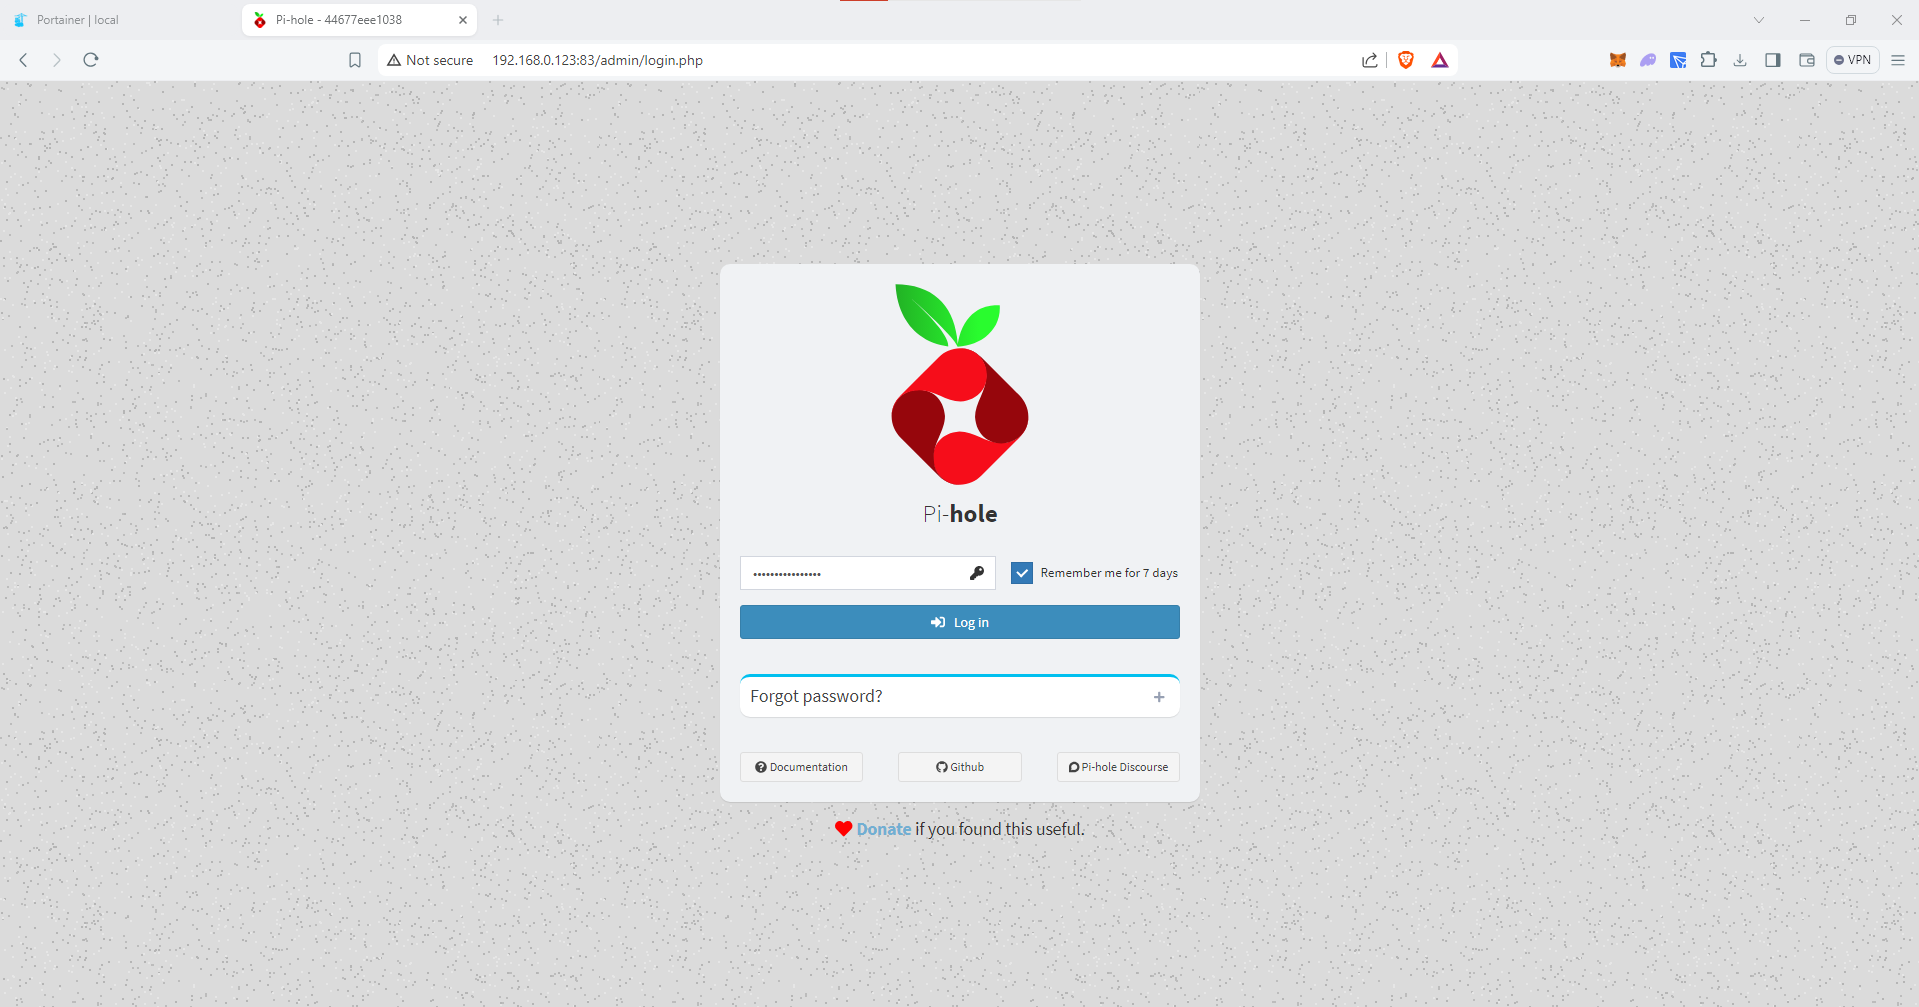
- Access Pi-hole Admin Interface:
Open your web browser and navigate to http://your-server-ip:83/admin. Log in using the password you set in the stack configuration.
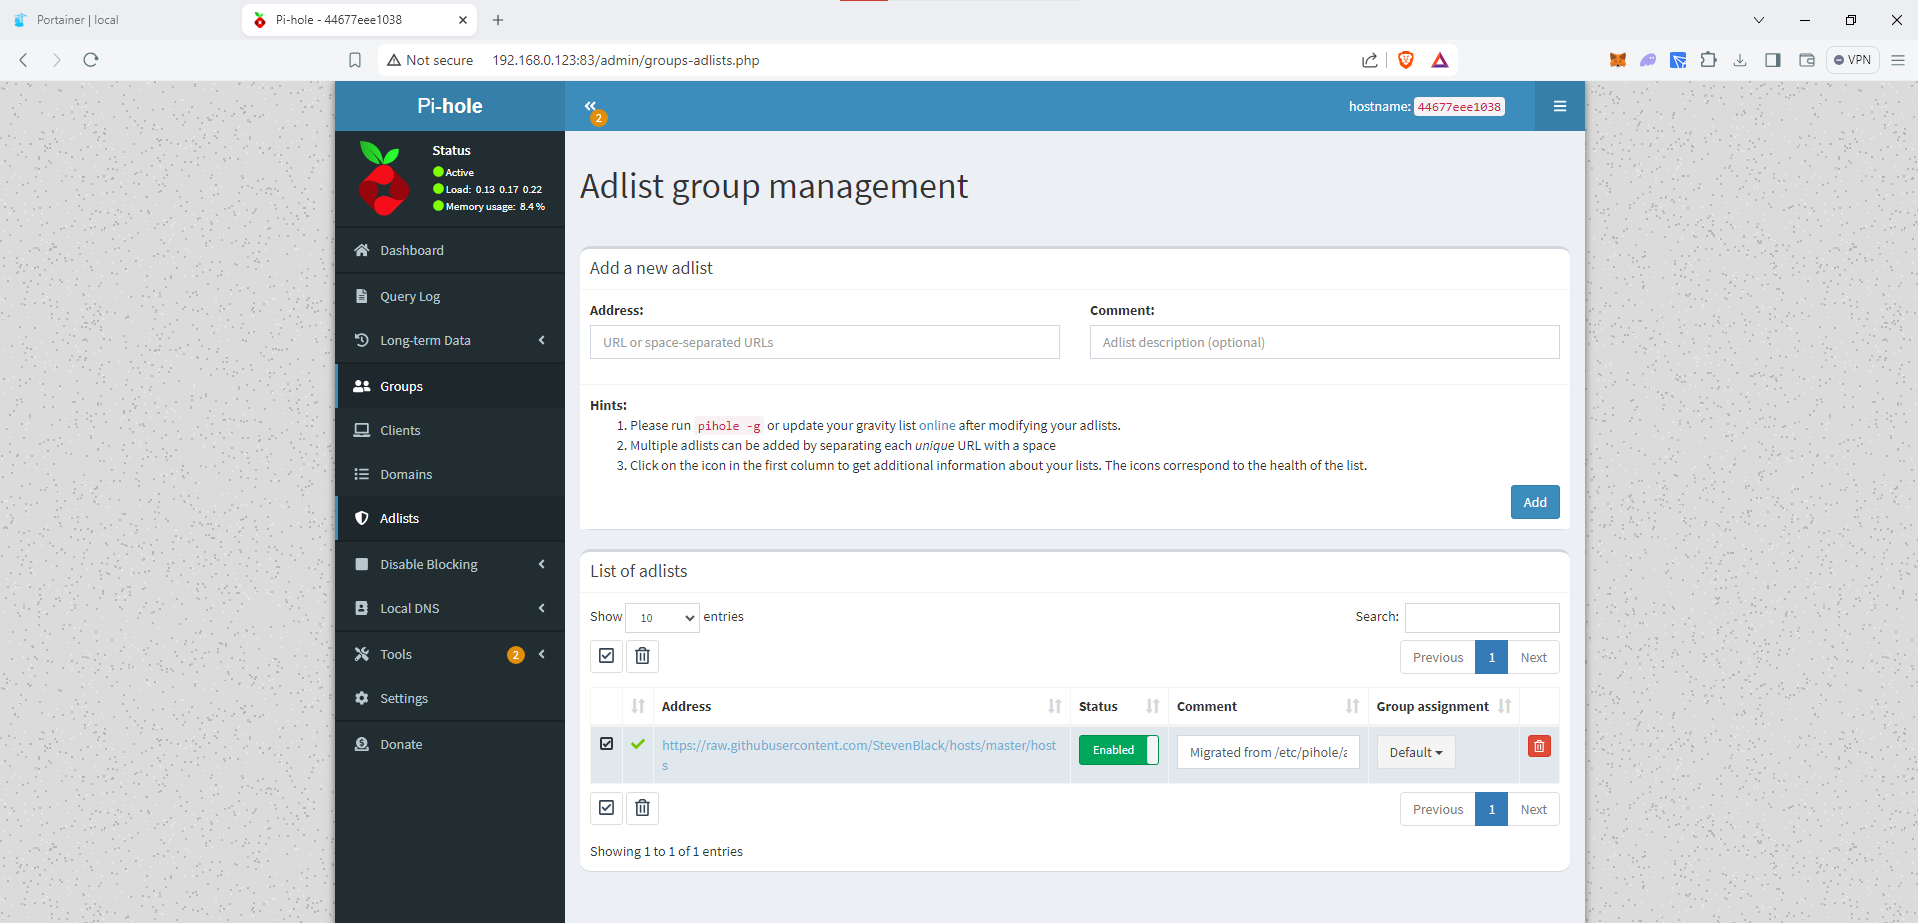
- Update Block Lists:
Go to Group Management > Adlists and add or update the block lists as needed to enhance ad-blocking capabilities.
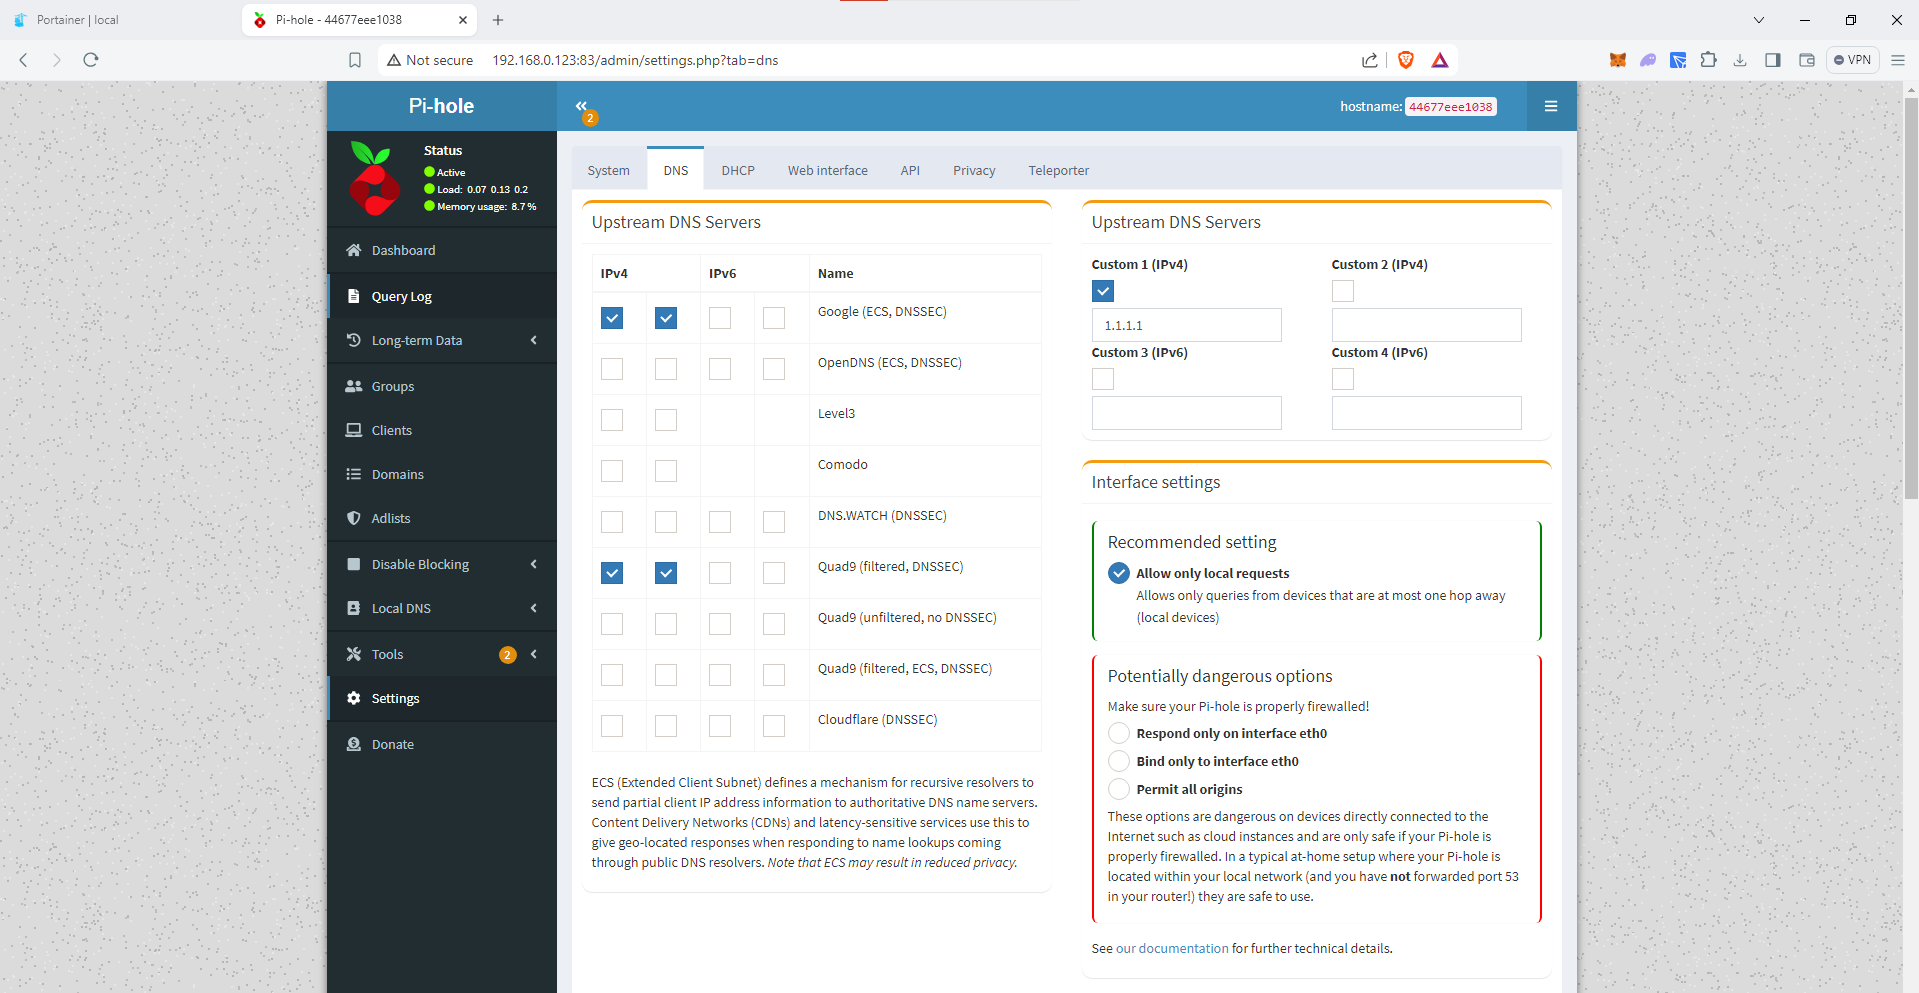
- Configure DNS Settings:
Go to Settings > DNS and configure the upstream DNS providers. By default, Pi-hole uses Google's DNS servers, but you can change this to any preferred provider.
Configuring Your Router or Devices
To use Pi-hole as your DNS server, you need to configure your router or individual devices to point to Pi-hole.
Here's a general guide as instructions many vary due to different device types:
- Configure Your Router:
Access your router's configuration page (usually found at http://192.168.1.1 or a similar address) and look for the DNS settings.
Set the primary DNS server to the IP address of your Pi-hole server. This will route all DNS queries through Pi-hole. - Configure Individual Devices:
If you prefer to configure devices individually, go to the network settings of each device and manually set the DNS server to the IP address of your Pi-hole server.
Conclusion
Pi-hole is a valuable addition to any network, providing comprehensive ad-blocking and enhanced privacy. By following this guide, you can easily set up and configure Pi-hole within Portainer and ensure your network is protected from unwanted ads and trackers.
Stay tuned for more posts in this series as we continue to explore powerful open-source tools and how to manage them using Portainer. Happy browsing with fewer ads!