Mastering Docker & Open Source Software

Welcome to the first post in our exciting new blog series! In this series, we'll be exploring how to install and manage applications through Portainer, an intuitive management UI for Docker environments. We'll also dive into various open-source software recommendations like n8n, Pi-hole, Vaultwarden, and many others. Whether you're a seasoned IT professional or just getting started, this series will provide you with valuable insights and step-by-step guides to enhance your tech toolkit.
Getting Started with Docker & Docker Desktop
In this first post, we'll walk you through the process of installing Docker Desktop. Docker Desktop with Portainer is a powerful tool that simplifies the management of Docker containers, making it easier to deploy, manage, and monitor your applications. Let's dive in!
Linux
Step 1: Install Dependencies
First, update your package lists and install the necessary dependencies:
sudo apt update -y && sudo apt install curl -yStep 2: Install Docker
Next, install Docker, the underlying platform that Portainer will manage:
sudo apt install docker.io docker-compose -y && sudo systemctl enable docker --nowStep 3: Manage Docker as a Non-Root User
To avoid using sudo with every Docker command, add your user to the Docker group:
sudo usermod -aG docker $USER
sudo chmod 666 /var/run/docker.sock
Log out and back in to apply these changes.
Step 4: Install Portainer
Create a Docker volume for Portainer data and run the Portainer container:
docker volume create portainer_data

docker run -d -p 18000:18000 -p 9443:9443 --name portainer --restart=always -v /var/run/docker.sock:/var/run/docker.sock -v portainer_data:/data portainer/portainer-ce:latest
Step 5: Verify Portainer Installation
Check if the Portainer container is running:
docker psYou should see Portainer listed in the running containers.
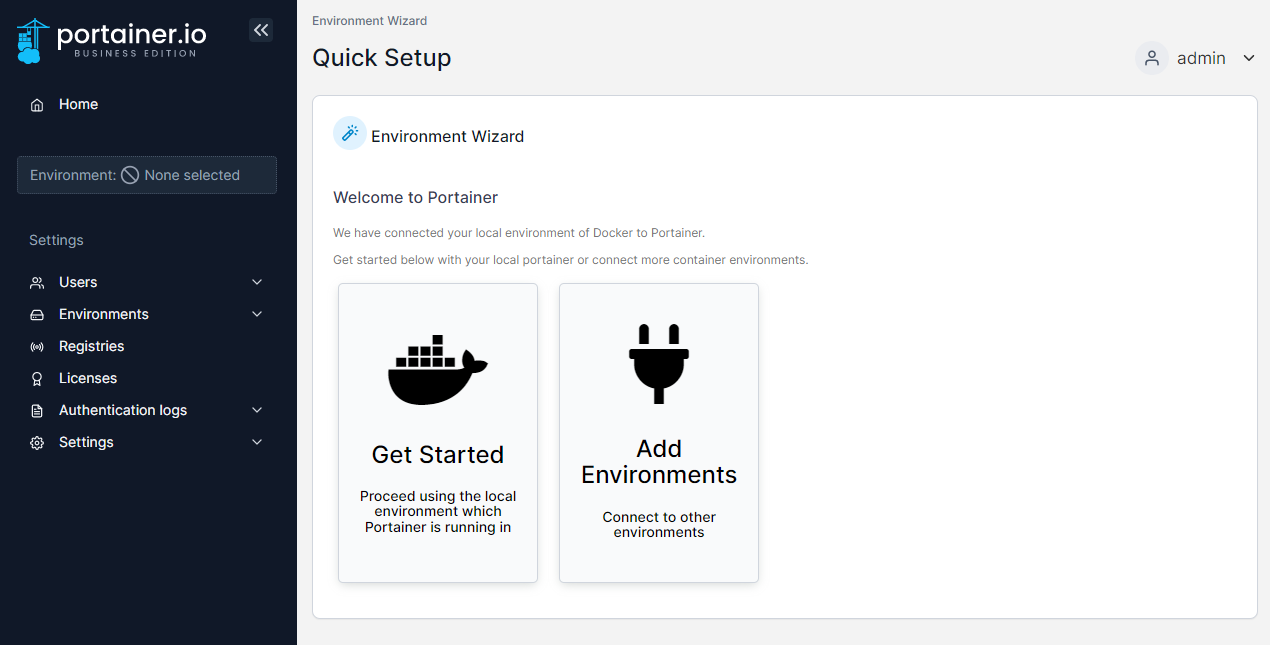
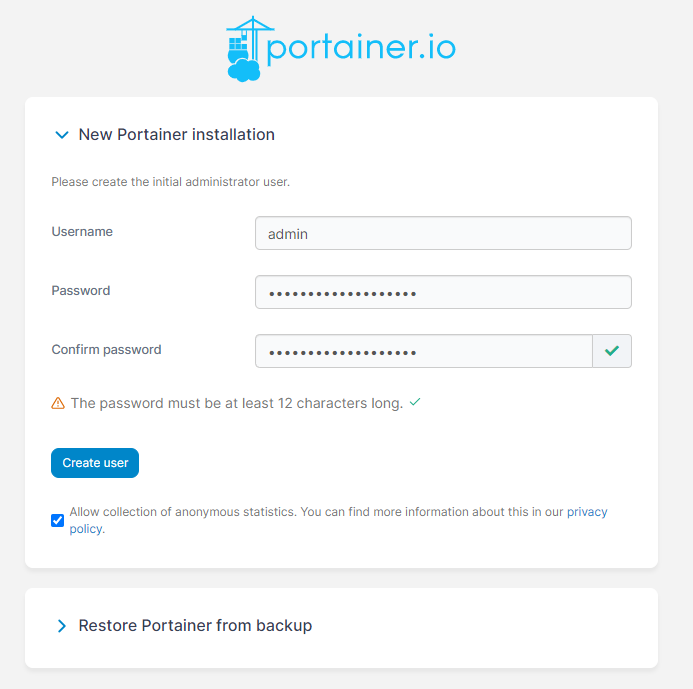
Step 6: Log into Portainer
Open your web browser and navigate to https://your-server-ip:9443 to access the Portainer UI. Follow the on-screen instructions to complete the setup and start managing your Docker environment with ease.
Windows
I recommend installing and using Docker Desktop with WSL to manage docker containers in a Windows environment :
Docker Desktop: https://www.docker.com/products/docker-desktop
it's important to consider how much hard disk space is available — especially on your system (C:) drive.
Docker Desktop and its underlying systems (like WSL2) can consume several gigabytes of space over time. By default, everything installs to the C: drive. If that drive is tight on space, your system could slow down or encounter errors. That’s why we’re covering two setups in this guide:
- Straightforward setup (everything goes to the default
C:drive — suitable if you have ample space there) - Advanced setup with custom install paths (e.g. installing Docker and WSL environment to a separate drive like
F:)
✅ Before You Begin: Check Your Disk Space
- Open File Explorer.
- Check available space on your
C:drive. - We recommend at least 15–25 GB of free space for a smooth experience with Docker Desktop and WSL2.
If you’re running low, Skip to the custom installation guide below.
Standard Installation (Everything on C: Drive)
This is the simplest way to install Docker Desktop — ideal for most users.
Step 1: Enable WSL2
- Press
Win + Xand open Windows Terminal (Admin). - Run the following command to enable WSL and the Virtual Machine Platform:
dism.exe /online /enable-feature /featurename:VirtualMachinePlatform /all /norestart
dism.exe /online /enable-feature /featurename:Microsoft-Windows-Subsystem-Linux /all /norestart
- Restart your computer.
- After rebooting, set WSL2 as the default version:
wsl --set-default-version 2Step 2: Install a Linux Distribution
- Open the Microsoft Store.
- Search for Ubuntu (or any other preferred distro).
- Click Install, and wait for it to download.
- Launch Ubuntu and complete the initial setup (create username/password).
Step 3: Download and Install Docker Desktop
- Go to the Docker Desktop for Windows download page.
- Download the installer and run it.
- During installation, leave the default options checked, including WSL2 backend.
- Click Finish when complete.
Docker Desktop will now be installed and ready to use from the Start menu.
🧠 Custom Install on a Separate Drive (e.g. F:)
If your C: drive is low on space, you can configure Docker Desktop and WSL environments to use a different drive, like F:. This requires a few extra steps but helps preserve system space.
Step 1: Install WSL with Custom Location
- Create your desired WSL environment folder on your target drive, e.g.:
F:\wslenv- Open Windows Terminal (Admin) and install a distro manually:
wsl --install -d Ubuntu --root- Once installed, export the distro to your custom folder:
wsl --export Ubuntu F:\wslenv\Ubuntu.tar- Unregister the existing distro:
wsl --unregister Ubuntu
- Re-import it to your target location:
wsl --import Ubuntu F:\wslenv\Ubuntu F:\wslenv\Ubuntu.tar --version 2
Now Ubuntu (or your chosen distro) runs from the F: drive.Step 2: Install Docker Desktop (After WSL Is Set Up on a Custom Drive)
Now that your WSL distribution is installed and running from your custom drive (e.g., F:), you can proceed with installing Docker Desktop normally.
- Download Docker Desktop
Go to the Docker Desktop for Windows download page and get the installer. - Run the Installer
During installation:- Leave "Use WSL 2 instead of Hyper-V" checked.
- Optionally, check "Add shortcut to desktop".
- Do not worry about install paths — Docker will find your WSL2 distro automatically.
- Complete the Setup
- Finish installation and launch Docker Desktop.
- On first run, it will detect your WSL2-enabled Linux distribution (even though it’s on
F:). - You might be asked to select which WSL distro to integrate with Docker — choose the one you imported.
- Test It
Open your WSL terminal (open cmd or powershell and type: wsl) then run:
docker version
docker run hello-world
If both commands work, you’re fully set up — with your Docker and WSL2 data now stored off your C: drive.
Go back here for instrctions on how to install portainer
What's Next?
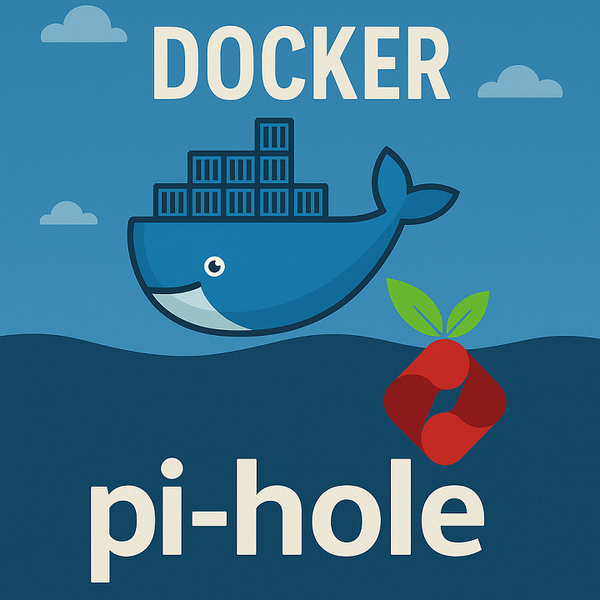
In the upcoming posts, we'll delve into the installation and configuration of various open-source applications using Portainer. Stay tuned as we explore Dolibarr for business management, Pi-hole for network-wide ad blocking, Vaultwarden for secure password management, and many more tools that will empower you to take control of your tech environment.
Thank you for joining us on this journey. We look forward to sharing our knowledge and helping you master the art of managing applications through Docker and open-source software. Happy learning!